Please note: This template uses the Zen Grid Framework. You can download the latest version of the framework on the Zen Grid Framework download page.
All Themes built prior to January 2013 were built using the Zen Grid Framework while all themes after January 2013 were built using the T3 plugin. A select number of themes from before January 2013 have been moved to the T3 plugin.
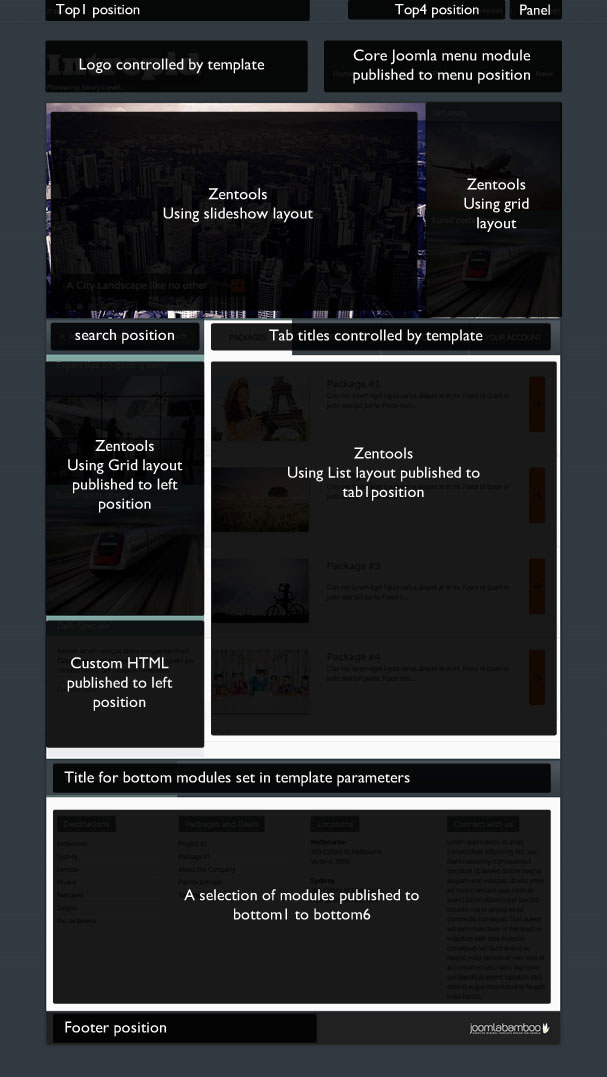
The screenshots below are taken from the template administrator and highlight the default settings for this template.
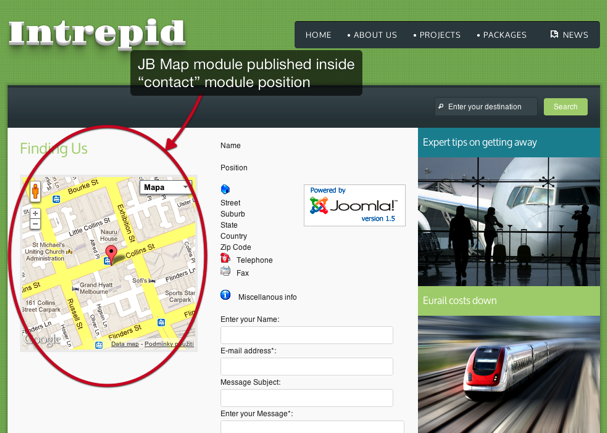
Contact us module
Mobile view

Subpage module view
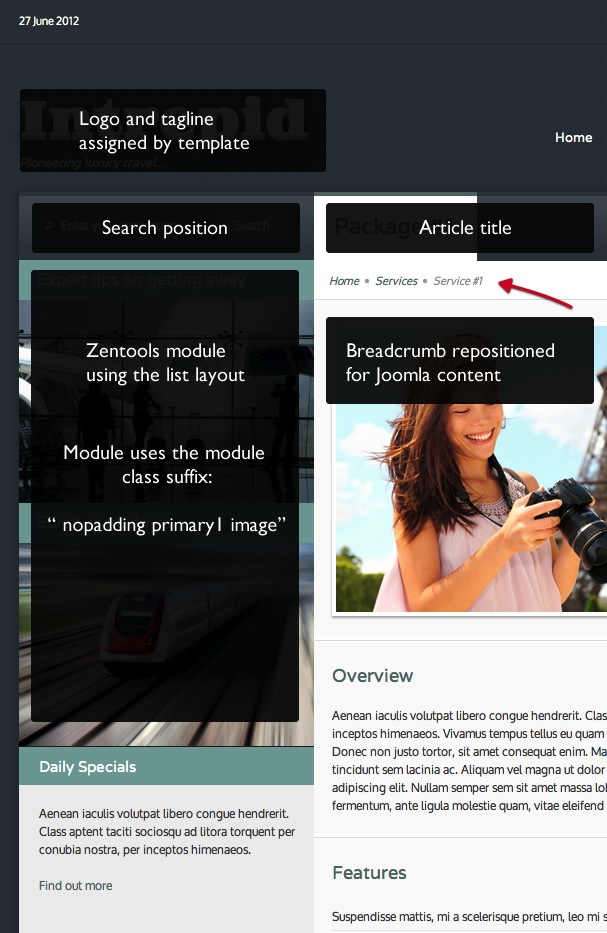
Subpage view

The following steps outline the process involved for setting this template up in a new or existing Joomla installation. Please note: We recommend users use our quickstart packages if they have the opportunity to start completely from scratch.
At this stage you will have a very basic looking template ready for you to customise, add your content and start setting up the other modules you can see on the demo for the Intrepid template.
For more information on replicating the front page layout or other extensions used on this site please read the information provided on the frontpage and extensions tab.

Module classes are a core Joomla functionality that allow the user to specify how a specific module will appear. The class itself is added to the module in the module parameters.
Module classes can be combined to take advantage of multiple complementary styles. An example of a module class suffix using a combination of classes: "hot primary1 top50".
Structural classes can be used to change the general layout or structure of a module.
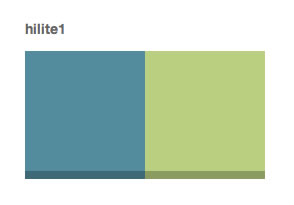
Each screenshot represents the colours used in this theme.
hilite1
hilite10
hilite11
hilite12
hilite13

hilite14
hilite15

hilite16
hilite17
hilite18
hilite19

hilite2
hilite21
hilite22
hilite23
hilite24
hilite25

hilite26
hilite3
hilite4
hilite5

hilite6
hilite7

hilite8
hilite9

hoilite20
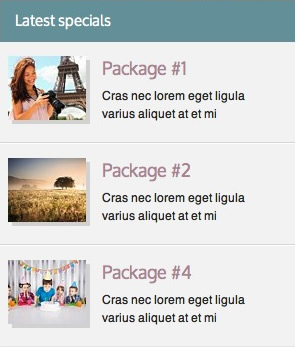
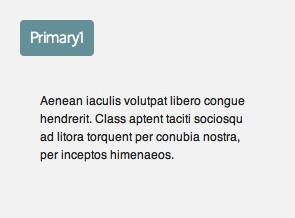
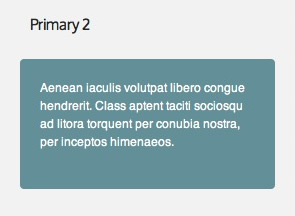
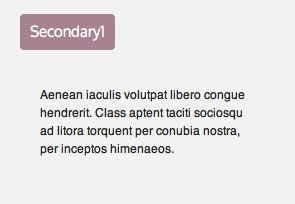
The screenshots below highlight the specific implementation or appearance of the module classes found in this template.
Panelmenu

Slidemodule

nopadding1

nopadding2
primary1
primary2
secondary1
secondary2

Â
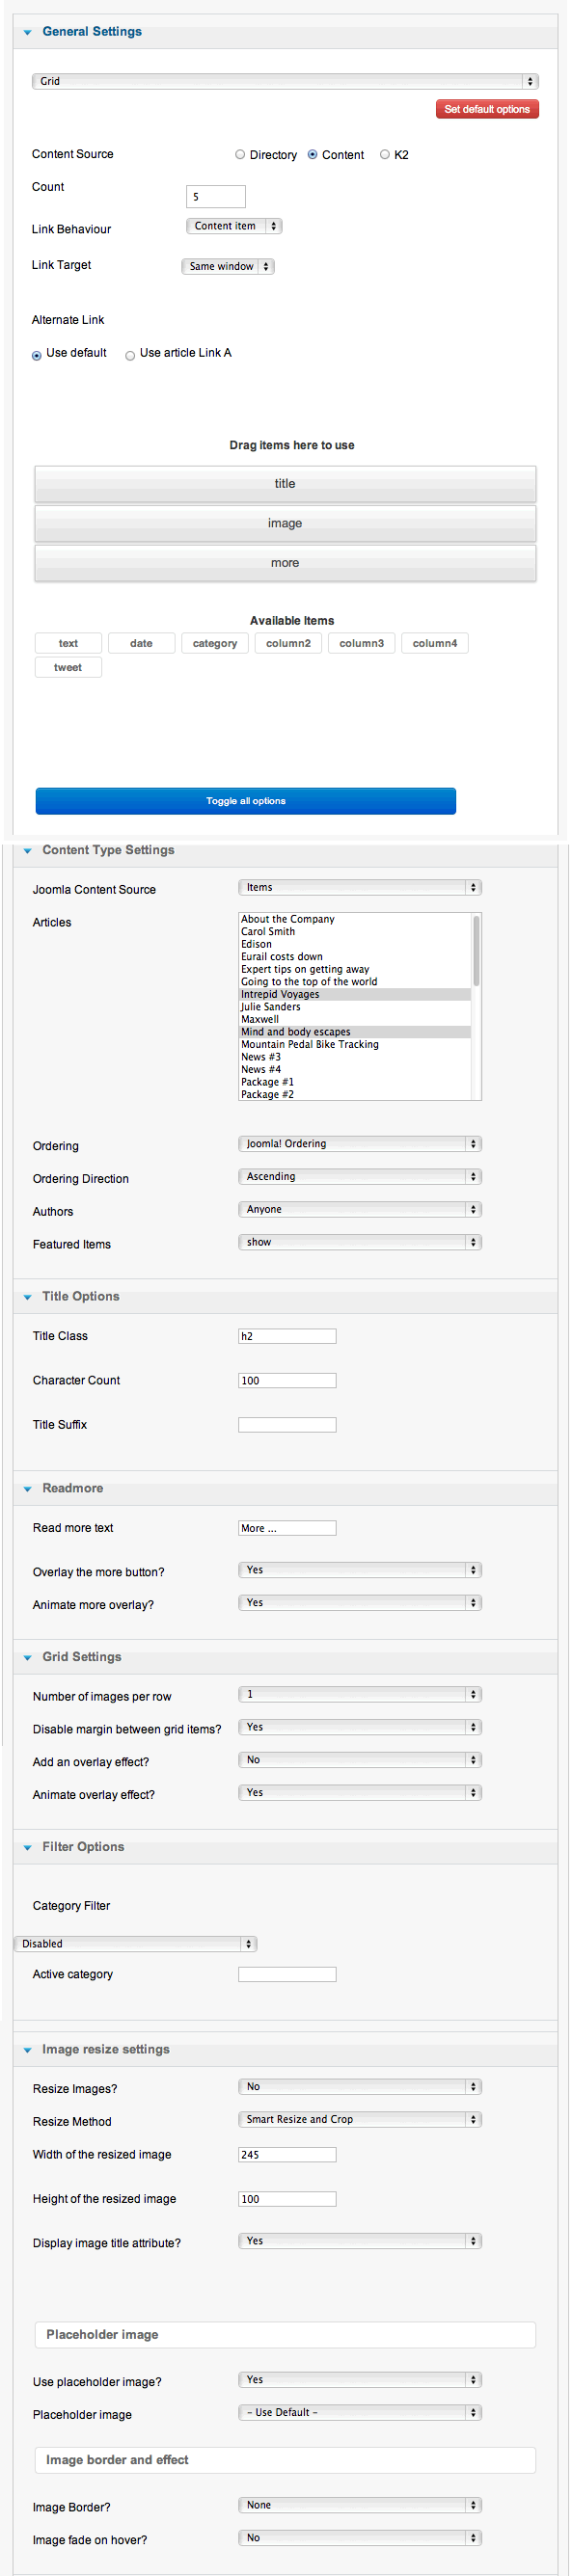
The following settings were used to create the zentools slideshow published to the grid1 module position.
Â
The following screenshot details the settings used for the zentools module published to the right of the slideshow.
Â

Â
Â
The following screenshot details the settings used in the zentools module published to the tab1 position.Â

The screenshots below are taken from the modules used in the demo and quickstart packages for this template.