
For all Joomla 3+ templates built using the Zen Grid Framework v4 (any theme after October 2014) please refer to the Zen Grid Framework v4 documentation.
The logo options in the Zen Grid v2 framework have been built upon to give you a much more flexible solution for personalising the template with your own logo.
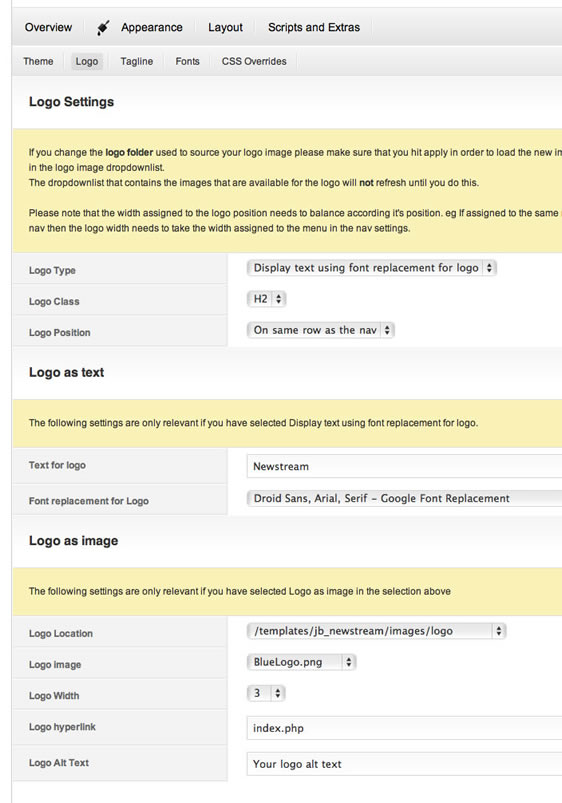
Logo Type: This setting determines whether your logo/sitename will be generated by an image or text.
Logo Class: This setting determines the class that surrounds the logo or site name. Depending on the css for the specific template you are using you may need to adjust the css for this specific class in the theme.css file or via the css override options under the font tab.
Logo Position: The logo position drop down box determines the area on the page where the logo is to be positioned. There are four options available:
Text for logo: Enter the text you would like displayed in the logo position.
Font replacement for logo: Select the font you would like to be used to display the sitename. You can also choose from the selection of google fonts available in the google font repository.
Logo Folder
This option determines where the template looks for your logo image. By default it references the images found in the templates/[your template name]/themes/logo folder but it is also possible to set the source folder as any of the folders found within the root images folder on your site. Please note that if you change the folder in this drop down list then you must hit apply in order for the next drop down list to populate with the images available in the new folder.
Logo Image: This option sets the actual file you want to assign for your logo. The template automatically loads the image files available for use according to the path that you have set in the previous folder.
Logo Width: This option sets the width that you want to allow for the logo position. Please note that the width you set here must be compatible with the widths that you set in the other module positions in the row that you published the logo position to in the first option eg header, nav or left module positions.
Logo Hyperlink: This option allows you to change the address of the link that is attached to the logo directs the user to. This is handy if you would prefer the logo link to redirect the user to a link that is other than the default menu item on your site.
Logo Alt Text: Specify the alternative text for your logo image.