
Row Styles.
Row styles allow the user to specify a custom style to be applied to an entire row of modules. This makes it possible to easily spread the main background colour to fill the entire width of the page or apply a specific style to a group of modules in a single row.
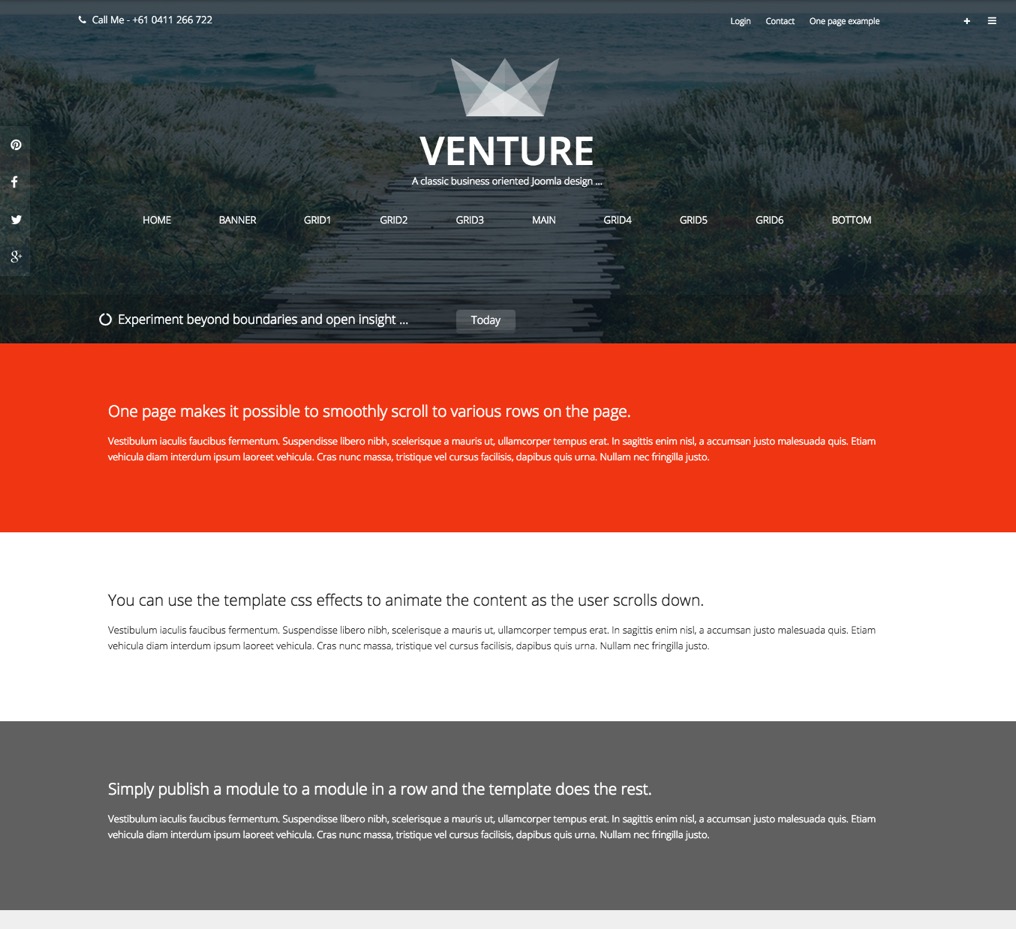
The example below can be seen on the Venture one page demo site where the grid1 row uses the primary1 option, the grid2 row uses the white option and the grid3 row uses the secondary3 option.
 ;
;
Applying a style to a row
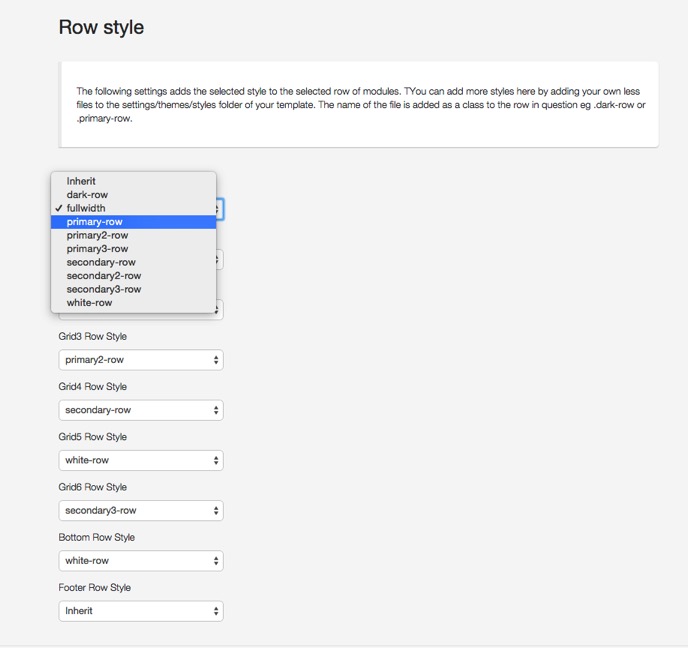
The options for determining the style to be applied to a specific row can be found under the Theme panel in the template settings. To apply a style to a specific row simply select the style you want to apply to the relevant row of modules.
 ;
;
So for instance if you wanted to make the top row of module stretch to the full width of the page then you would select the fullwidth option for the top row of modules.
Where are the classes added?
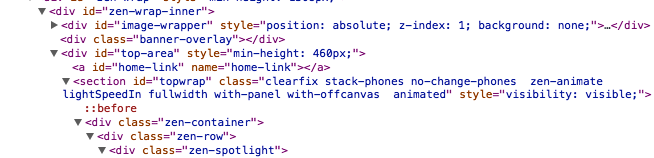
The classes are added here in the same way that the animation and layout classes are added in the markup.
 ;
;
As you can see in the markup above the class fullwidth is applied to the main container.
How do you add your own styles?
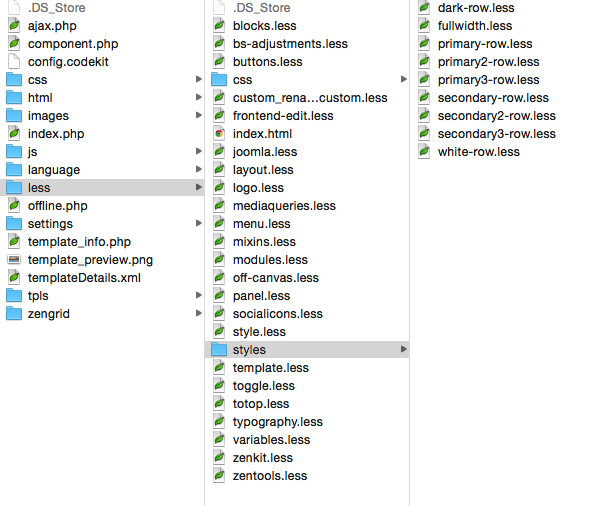
You can add your own styles to the drop down by simply adding your less file to the less/styles folder in the template. By adding a file here it is automatically included in the template's less compiler and compiled into your css file.
 ;
;
The file should be named as per the following dark-row.less where the class applied to the row would be .dark-row.
Including variables and mixins
If you wish to reference any of the template's less variables or mixins you will need to ensure that you reference the template's less/variables.less and less/mixins.less files as in the example below.
@import "../variables";
@import "../mixins";

.dark-row{
    .row-color(#232323, #fff, #fff, #eee)
}