Installing Ecolife in a fresh Joomla 3 installation
We generally advise using a quickstart package if using a template in a new installation. However these are the steps to follow to install Ecolife in a fresh Joomla installation if that is somehow not possible.
Items to install
- Install the Ecolife template
- Install the Zenmenu plugin
- Install the Zen Shortcode plugin
- Install the Zentools module
- Install the JB Maps2 Module
Elements to publish / Unpublish
- Set the Ecolife template as the default template in the template manager.
- Edit the Ecolife template and save settings to update the current configuration.
- You may need to set the option in the layout panel to show content on the front page.
- Publish the zenmenu plugin via the plugin manager
- Publish the Zen Shortcode plugin via the extensions manager.
Change the position for the following items and adjust some settings
- Change the main menu module position to menu.
- Disable the menu module title.
- Set it to display on all pages.
- Set the search module to be published to the search position.
Elements to create
- Create your logo. Please see the adding your logo article for help with this.
Template settings to customise
- Compress javascripts - go to settings and press the compress scripts.
- Set social icons top offset under social panel so that it sits within your slideshow - eg 100px
- Save your settings - in this case it should trigger your template settings to recompile.
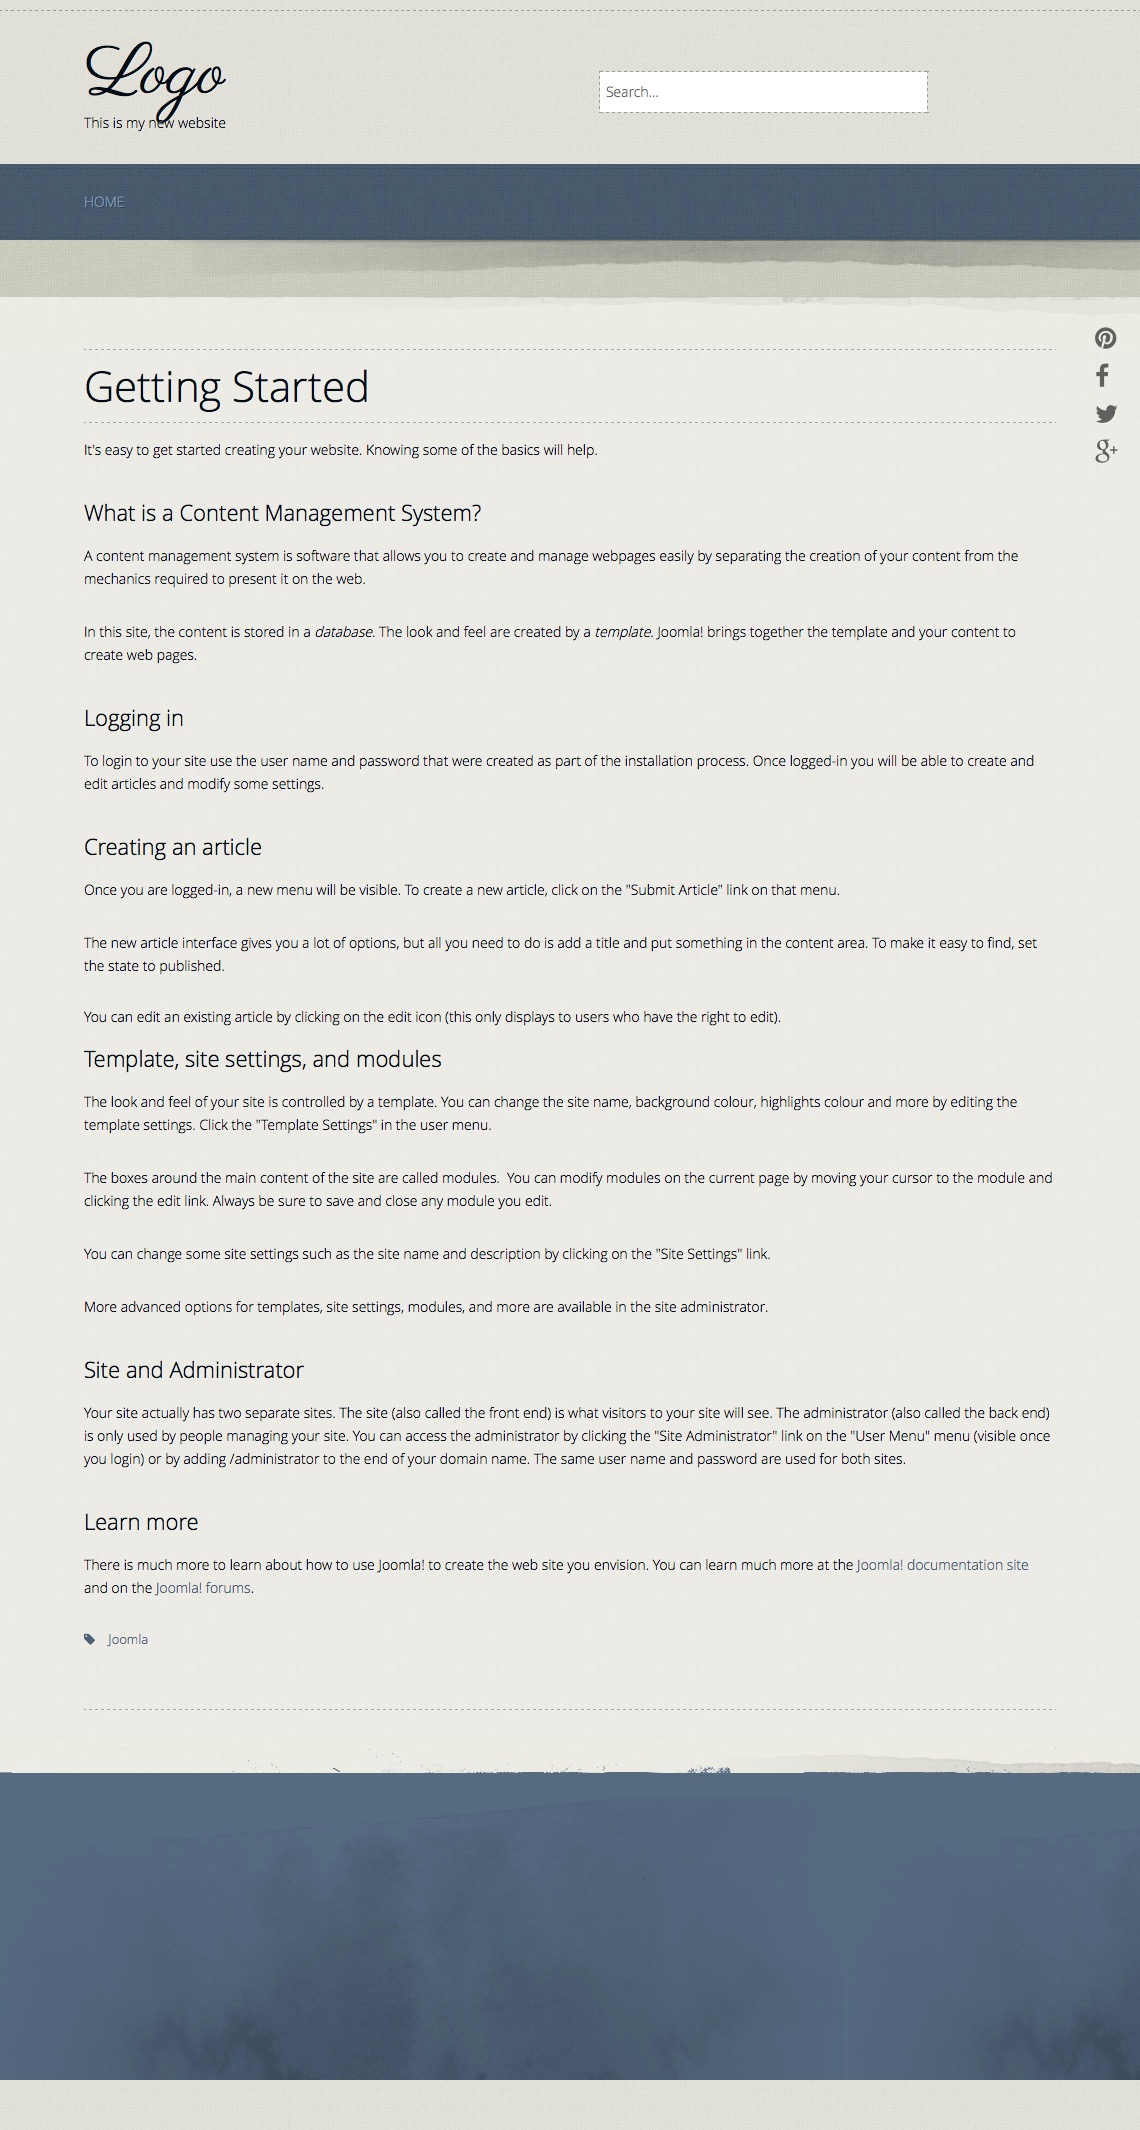
Result
After following the steps above the default installation of Joomla should look like the screenshot below.