How to add your own logo
Zen grid Framework v4 (ZGFv4) themes use a custom html module position for all content related to the template logo. While the template controls the font, color and other display characteristics of the logo. Your logo can be any combination of text, image or any other html markup.
Add your logo content
1. Create a custom html module and publish it to the logo position.
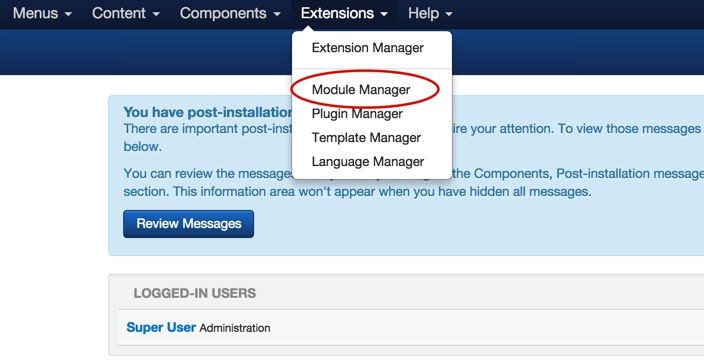
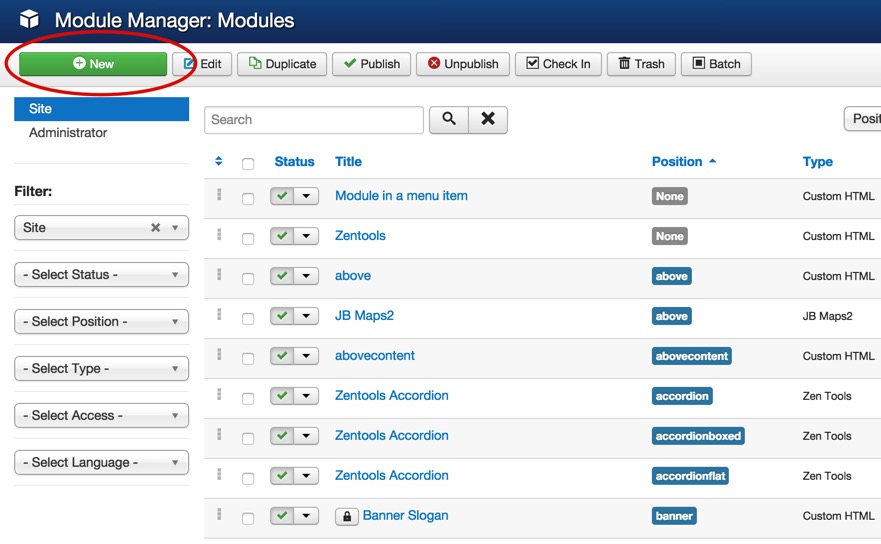
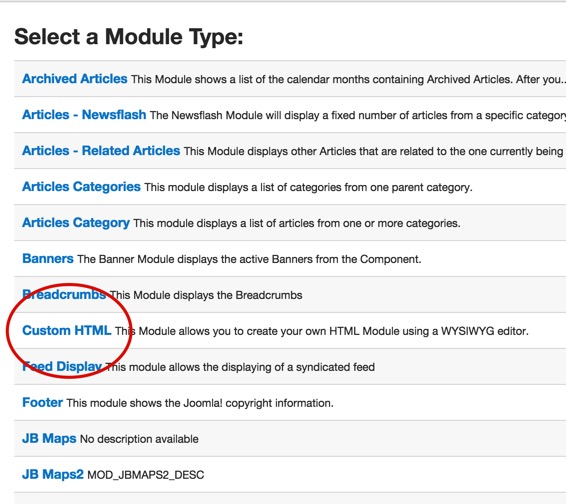
2. Add your text in an h1 or h2 tag, or upload an image.
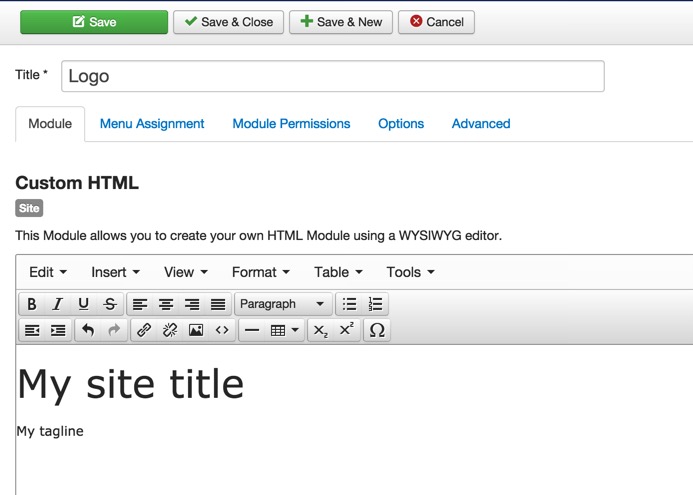
3. Add a tagline underneath. The tagline should be wrapped in a p tag.
4. Ensure the module is setup correctly.
Ensure that it is:
- published to the logo position
- displayed on all menu items
- published
- Module title is disabled
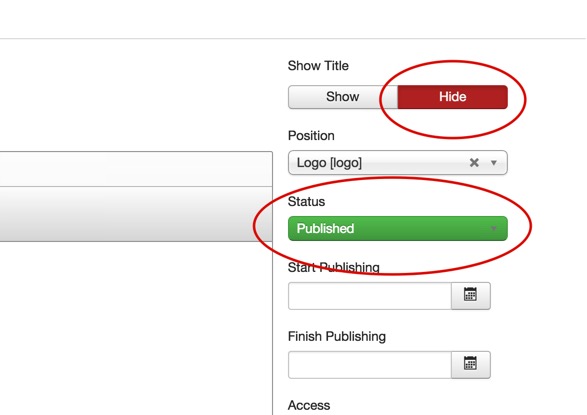
5. Save your changes.
Adjust the logo font, size and color
The various settings for the display of the logo can be found in your templates administrator under theme > logo and fonts > logo.
Adjust the logo font, font size, line height and fontweight
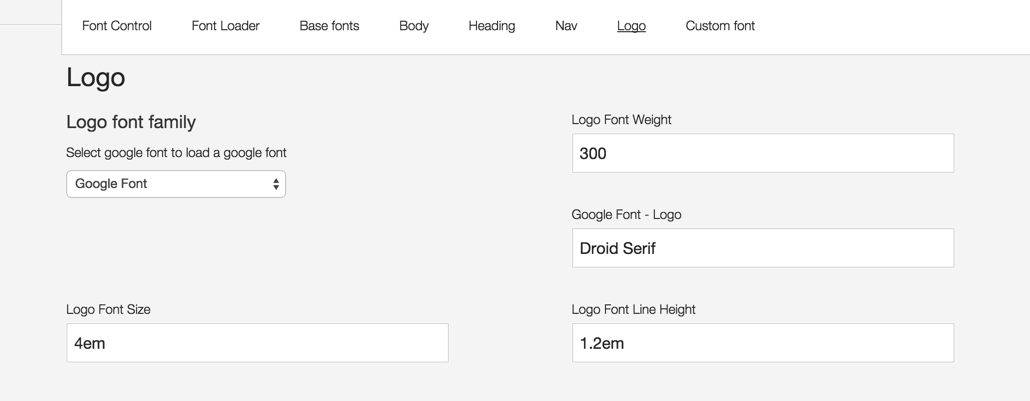
Logo Font Family
Select between native web fonts or google fonts.
Logo Font Size
Control the font size of the h1, h2, h3 tag in the logo position.
Logo font weight
Controls the weight of the font used for the logo. If using a Google Font you must ensure that the font is loaded with the required font weight. eg for Open Sans if you want to use font weight 300 then you would need to load the font like this open+sans:300.
Google Font Family
Optional setting that appears when google font is used in the font drop down.
Logo line height
Line height that is applied to the h1,h2,h3 tags in the logo position.
Adjust logo color

Logo Font Color - Compile to less required.
The color of the h1,h2,h3 tags in the logo position.
Logo hover color - Compile to less required
The hover color applied to any h1, h2, h3 links in the logo position. You must ensure that your logo has a link attached to it for this to work.
