
Using custom font selector
In addition to being able to target the body, heading, logo and menu fonts it is also possible for the user to target a specific selector with the font of your choice by using the custom font selector option.
How to apply a custom font to a class
In order to apply a custom font to your page, open the template administrator to the font panel and scroll down to the bottom of the page.
Here you will find 4 options to choose from:
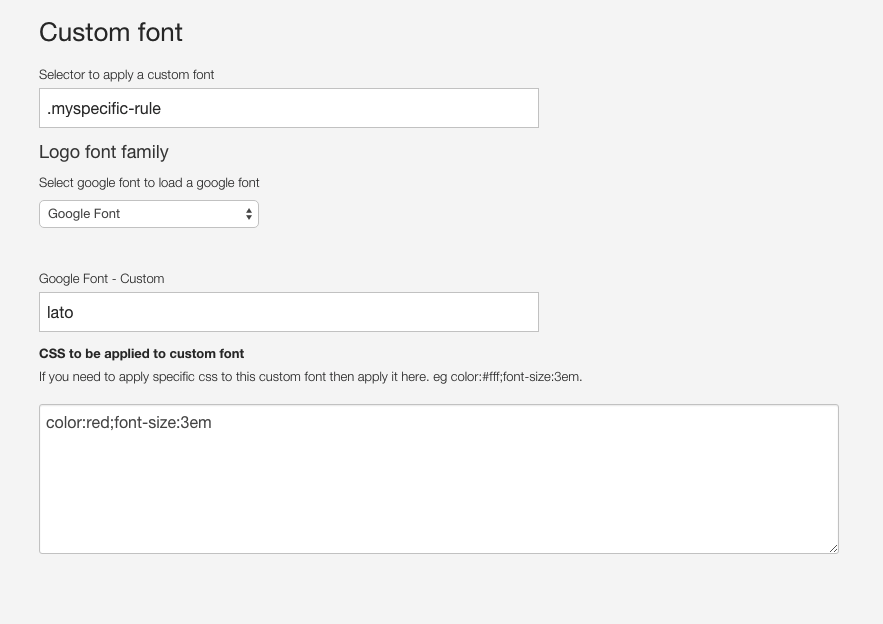
Selector for a custom font
This is the selector you wish to apply the new font for. You can use a custom selector as shown in the screenshot above or use a tag such as h1,h2,h3 or blockquote. If you wish to apply the font to multiple selectors then you would simply add the selector to the input box using a comma to separate each rule eg h1,2,blockquote,.myspecific-rule.
Select font to load
This is the same option used for the other items. Select between a set of standard fonts or choose the google font option.
Google Font - Custom
If the Google font option was specified in the previous option this setting will appear. Simply add the google font you wish to use.
CSS to be applied to custom font
This textarea allows the user to attach specific css rules to the new selector. Any valid css can be used here. eg color:red;font-size:3em.
Example
If the settings from the screenshot above are applied then the following code will be output in the page:
.myspecific-rule {font-family:lato;color:red;font-size:3em}