Adding new module positions
There are two main ways that new module positions can be added to Zen Grid Framework v4 themes.
Adding using the default Joomla syntax
A new module position can be added to your template using the default Joomla syntax as per the following code:
<jdoc:include type="modules" name="enter-your-module-name-here" style="zendefault" />This can be added in the tpls/default.php or in the layout blocks eg tpls/blocks/top.php.
Please note that adding a module position using this syntax will not mean that the module name shows up in the template's layout control in the template settings. In order to have the width of the module show up in the template layout panel you will need to use the second option noted below.
Adding a position to the template layout tool.
Adding a position to the template and having it show up in the template panel is slightly more complicated and involves a number of different steps.
Add the new positions to the positions.json
The first step is to add the position to the positions.json file located in the settings/layouts folder.
The positions.json file is a standard json file with the information stored for the modules as follows:
"top": {
    "top1": "3",
    "top2": "3",
    "top3": "3",
    "top4": "3"
},
"header": {
    "header1": "6",
    "header2": "6",
    "header3": "5",
    "header4": "7"
} ...
In this tutorial we will add an entirely new block of modules in between the top and the header rows called "features".
"top": {
"top1": "3",
"top2": "3",
"top3": "3",
"top4": "3"
},
"features": {
"feature1": "3",
"feature2": "3",
"feature3": "3",
"feature4": "3"
},
"header": {
"header1": "6",
"header2": "6",
"header3": "5",
"header4": "7"
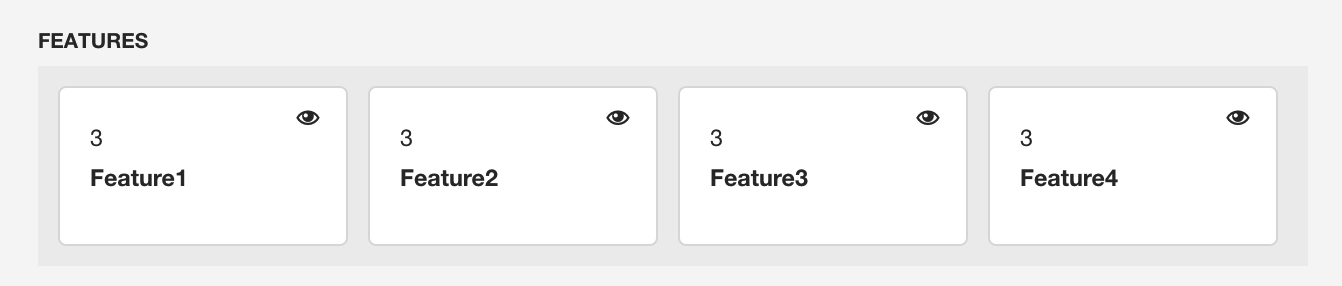
},As you can see we have just added 4 new modules called feature1, feature2, feature3 and feature4. The number associated with each of the modules is the default width for each position. The framework is built on a 12 column grid and so 4 modules evenly spaced require 3 col widths each.
After adding this code the features row will now display in the template layout tool.
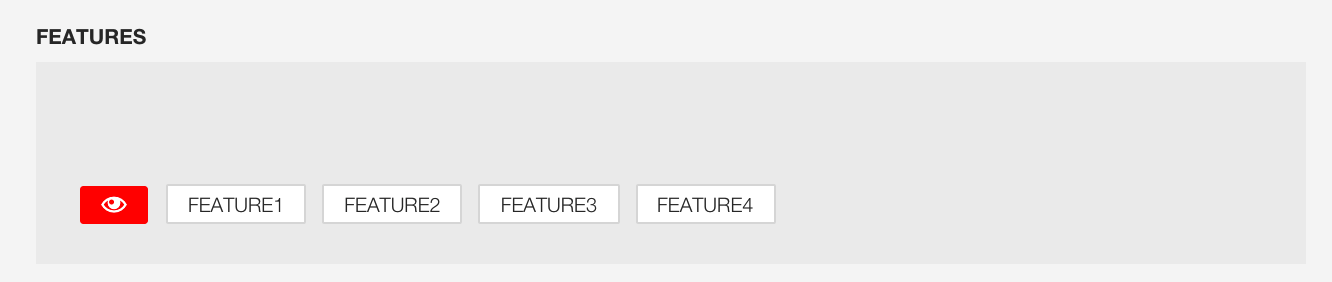
However as you can see in the screenshot above that the new modules are turned off by default.
So in order to complete this step you need to click on the name of the module you want to display in order to publish them in this layout.
Add the name of the positions to the templateDetails.xml
The nest step is to add the names of the new positions to the templateDetails.xml file. Open this file and locate the position group of entries eg starting with
<position>feature1</position>
<position>feature2</position>
<position>feature3</position>
<position>feature4</position>
Adding the module names here means that the module name will now be displayed in the module selection dropdown when editing any of your modules.
Add the spotlight block reference in the default.php
The next step is to add your required spotlight file to the default layout.
To do this you need to open the tpls/default.php and add the reference to the feature row.
So in this example the following code:
<?php $zen->loadBlock('top'); ?>
<?php $zen->loadBlock('header'); ?>
becomes:
<?php $zen->loadBlock('top'); ?>
<?php $zen->loadBlock('features'); ?>
<?php $zen->loadBlock('header'); ?>
Add the spotlight code
The next step is to add the actual layout block in the tpls/blocks folder. The new block needs to be called features.php.
The code for this file should contain the following code at the very least:
<?php
defined('_JEXEC') or die;

/* =====================================================================
Template:   Xero - Base theme for the Zen Grid Framework v4.
Author:     Anthony Olsen Joomlabamboo
Version:    1.0
Created:    August 2014
Copyright:  Anthony Olsen - (C) 2014 - All rights reserved
/* ===================================================================== */ ?>

<?php if($this->checkSpotlight('features')) {?>
    <section id="featurewrap" class="clearfix <?php echo $this->rowClass('features');?>">
        <div class="zen-container">
            <?php $this->getModules('features');?>
        </div>
    </section>
<?php } ?>- The checkspotlight check checks to see if any of the modules associated with the features row eg feature1, feature2 etc are enabled in the template admin and have any modules published to them.
- The rowClass function adds the classes applied to the row in the template admin. This includes both the stack, hide etc classes that are available as well as the css3 animated effects from the effects panel.
- The getModules function retrieves and renders the modules in the features block.
Publish a module to feature1 position
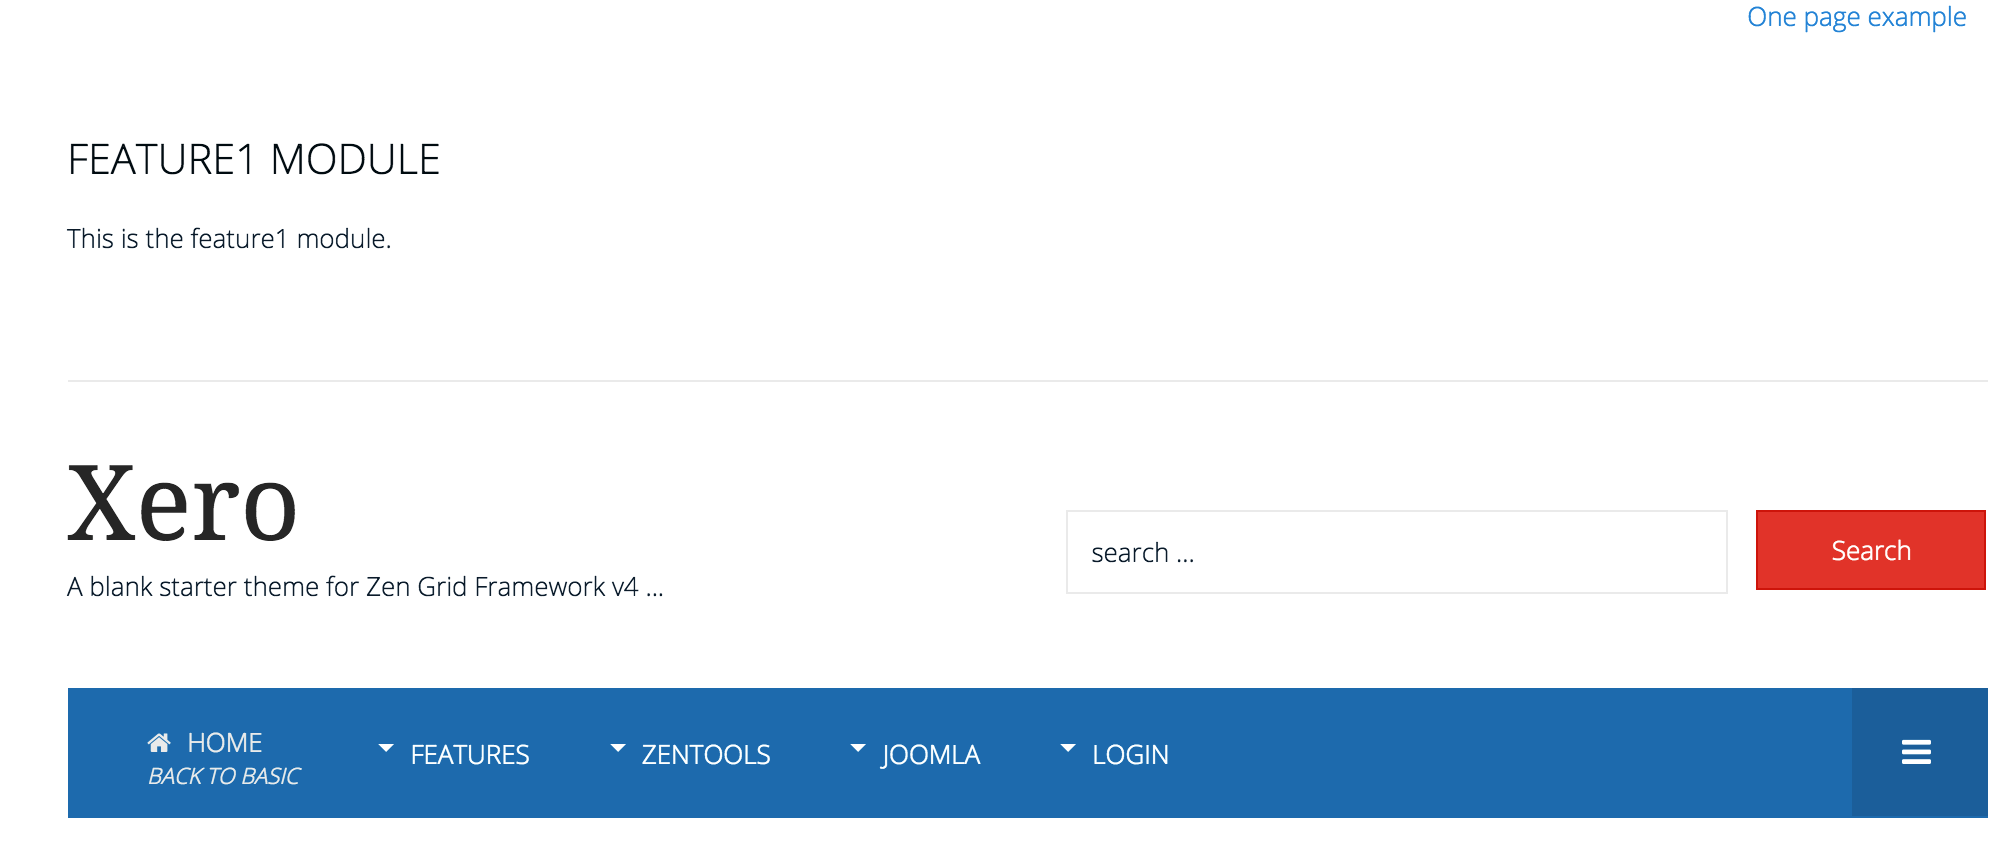
The next step is to add a module to the feature1 position via the Joomla module manager.
For the purposes of this tutorial we have added a custom html module to the feature1 position and as you can see it is now rendered in the space between the logo and the top menu area.